
In today’s digital age, video editing has become increasingly popular, with numerous tools available to enhance and personalize your videos. One such tool is CapCut, a free online video editor which offers a wide range of features to make your videos visually captivating. Among its impressive array of effects is the picture-in-picture effect, which allows you to overlay one video or image onto another, creating a visually appealing and engaging composition.
In this article, we will explore the picture-in-picture effects in CapCut, discuss its features, and provide a step-by-step guide on how to create stunning picture-in-picture effects using this impressive tool.
Picture-in-Picture Effects in CapCut
CapCut’s picture-in-picture effects enable you to combine multiple videos or images to create a seamless and dynamic composition. Whether you want to add a facecam, show multiple angles simultaneously, or overlay a text or logo onto your video, the picture-in-picture effect offers endless creative possibilities. CapCut provides various customization options, allowing you to adjust the size, position, opacity, and duration of the picture-in-picture element.
Features of CapCut’s Picture-in-Picture Effects
- Multiple Layers: One of the key features of CapCut is its ability to work with multiple layers of videos and images. This means you can overlay several elements onto your main video or image, providing opportunities to create intricate and dynamic compositions. By adding multiple picture-in-picture elements, you can enhance storytelling, show different perspectives simultaneously, or highlight specific details within your video.
- Size and Position Control: CapCut provides intuitive tools to adjust the size and position of the picture-in-picture element. You can easily resize and reposition the overlay to fit perfectly within your video frame. Pinching gestures allow you to resize the element, while dragging lets you reposition it. This level of control ensures that your picture-in-picture effect is precisely placed where you want it, without any unwanted distractions or misalignments.
- Opacity Adjustment: The opacity adjustment feature in CapCut’s picture-in-picture effects allows you to control the transparency of the overlay element. This feature is particularly useful when you want to blend the overlay with the background video or image. By adjusting the opacity, you can create seamless integration between the two layers, adding depth and visual interest to your video.
- Keyframe Animation: CapCut’s keyframe animation capabilities enable users to add smooth and dynamic motion to the picture-in-picture effect. With keyframes, you can animate the movement, size, and opacity of the overlay element over time. This functionality allows for creative storytelling and transitions. For example, you can create a smooth zoom-in effect, fade-in or fade-out animations, or even make the overlay element move across the screen. Keyframe animation adds a professional touch to your videos and makes them more visually engaging.
- Customization Options: CapCut offers a range of customization options to enhance your picture-in-picture effects further. You can adjust the duration of the overlay element, ensuring it appears and disappears at the desired moments in your video. Additionally, CapCut provides other editing features such as filters, effects, text overlays, stickers, and more, which you can apply to both the main video and the picture-in-picture element. These features enable you to personalize and stylize your videos according to your creative vision.
- Real-time Preview: One of the advantages of CapCut’s picture-in-picture effects is the ability to preview your edits in real-time. As you make adjustments to the size, position, opacity, or animation, you can instantly see the changes on the preview screen. This feature allows you to fine-tune your composition, ensuring that the picture-in-picture effect achieves the desired impact and seamlessly integrates with your video.
Step-by-Step Guide to Creating Picture-in-Picture Effects in CapCut
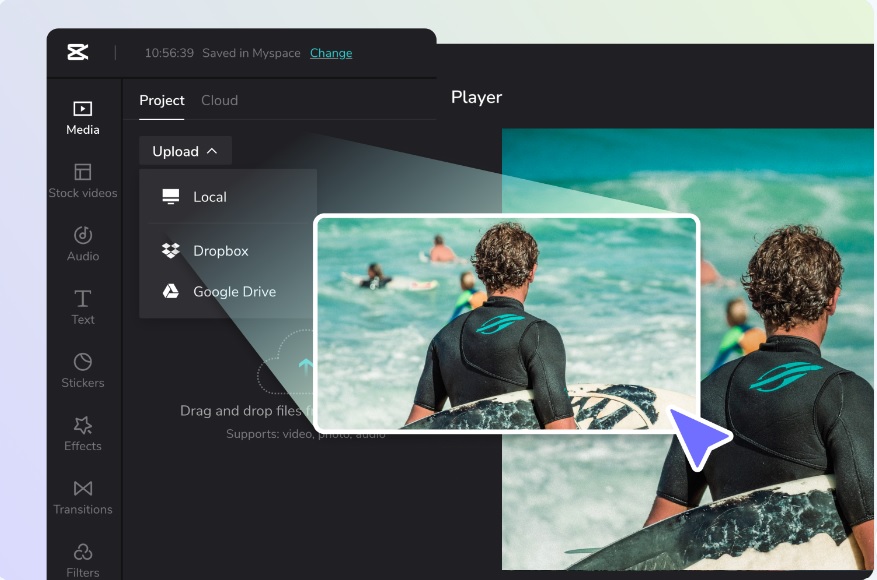
Step 1: Upload Media Files
Tap on the “Upload” button to upload your media files to CapCut. Click on the “+” button to add the files to the CapCut interface.
Step 2: Add the Picture-in-Picture Element
Select the video or image you want to overlay onto the background and drag it to the timeline. Ensure that it is positioned above the background layer.
Step 3: Adjust Size and Position
Tap the picture-in-picture element on the timeline to reveal editing options. Use the resizing and positioning tools to adjust the size and position of the overlay. You can pinch to resize and drag to reposition the element.
Step 4: Customize Opacity
To modify the transparency of the picture-in-picture element, tap the element on the timeline and select the opacity option. Adjust the opacity slider to achieve the desired transparency effect. This might take some time, so don’t be in a hurry with it.
Step 5: Apply Keyframe Animation
For added visual interest, you can animate the movement, size, or opacity of the picture-in-picture element. Tap the element on the timeline, select the animation option, and add keyframes at different points in the timeline to define the desired animation path.
Step 6: Preview and Fine-tune
Play the edited video to preview the picture-in-picture effect. Make any necessary adjustments to the size, position, opacity, or animation to ensure the desired outcome. You can also change the background by using CapCut’s video background remover tool. You can also make use of other CapCut editing tools, such as filters, stickers, trendy music, and subtitles, among others.
Step 7: Export and Save
Once you are satisfied with the picture-in-picture effect, tap the export button to save your edited video. CapCut provides various export settings, allowing you to choose the desired video quality and format. You can choose between 2160p or 4k (HD), always go for the highest resolution if you want your video to be visually captivating.
Conclusion
Creating picture-in-picture effects in CapCut opens up a world of creative possibilities for enhancing your videos. By overlaying multiple videos or images, adjusting size, position, and opacity, and applying keyframe animation, you can create captivating compositions that engage and captivate your audience.
CapCut’s user-friendly interface and powerful editing tools make it a valuable resource for both amateur and professional video editors. So, unleash your creativity, experiment with the picture-in-picture effects, and elevate your video editing skills with CapCut!